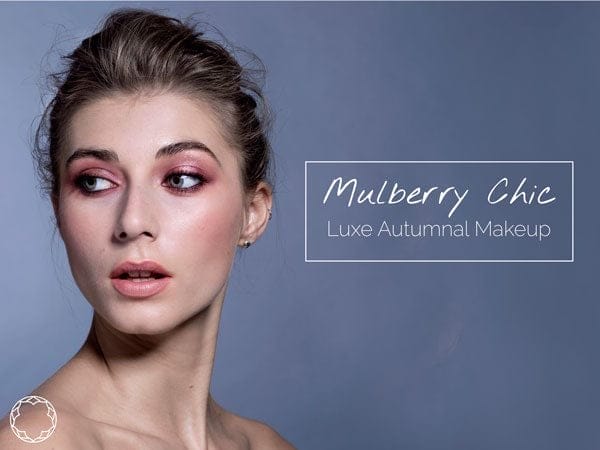
Mulberry Chic – A Luxe Autumnal Makeup Look

Photography – Beth Steddon | Model – Ella Parsons | Words by Tahira Herold beautybytahira.com

I love this time of year! Getting all cozy and warm, it is a perfect time to dial up the makeup to complement the tones of the season.
I created this look to spotlight the beautiful burnished eyeshadow colours from Hynt Beauty, perfectly paired with nude NUI Cosmetics Lips. To recreate the look yourself follow the easy steps below:
Step 1 – Skincare
Great skincare is a must before any beauty makeup, especially before a photo shoot. I always begin by cleansing and then applying at least one mask to exfoliate the skin. I sometimes follow this with a hydrating mask if necessary, as I did with lovely model Ella.
Try, in this order:
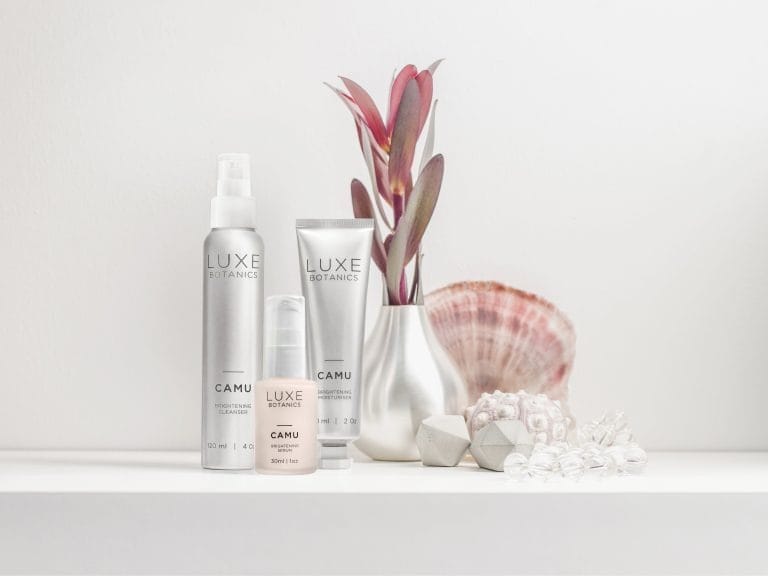
- Corinne Taylor – Glow Mask
- Evolve Beauty – Daily Defence Moisture Mist Toner
- Evolve Beauty – Hyaluronic Acid Serum
- Supermood – Radiance Oil
With skin prepped and ready, it’s time for makeup.
Step 2 – Foundation
I wanted a soft matte flawless skin base, so I applied NUI Cosmetics Liquid Foundation first with my sponge, then patted on more with my finger where needed. Under the eyes and around the mouth, I patted some stick foundation instead of concealer, you can try Couleur Caramel Compact Foundation or even use the Hynt Beauty Duet Perfecting Concealer, but beware – a little goes a long way!
Once it was blended, I left it to set and moved on to the eyes.
Step 3 – Eyes
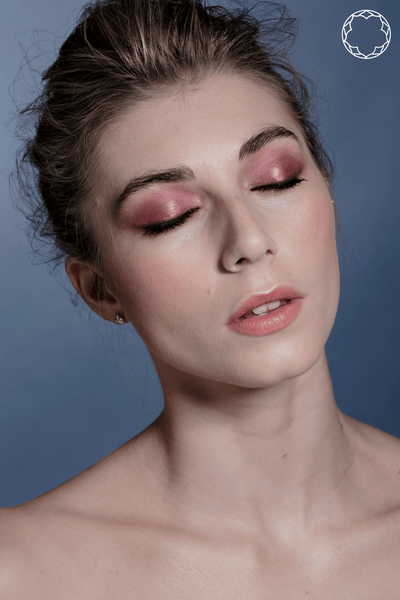
To create the burnished auburn look on the eyes, I used the Sweet Mulberry palette from Hynt Beauty. This trio of shadows contains a nude pink, a warm burgundy and slate grey tone.
I first prepped the lid with the ZAO Eye Primer to ensure the lid was smooth and even.
I blended the Mulberry colour from the middle of the Sweet Mulberry palette all over the eyelid, and a bit above the crease and swiped some of the same colour on the lower lash line, creating a warm soft smokey effect.
Makeup Artist’s Note: if you have deep set eyes, keep the colour on your eyelids and blend into the crease without going above it. Also, don’t bring the colour all the way across the lower lash line, but stop about ½ way towards the inner corner.
Reds and plums can make the eyes look irritated so to anchor the look, I used the slate grey tone on the outer corners of the eyes. Take an angled brush like the Couleur Caramel Angled Brush, and line your upper and lower lashes by pressing and dragging the the brush along the upper and lower eyelashes, creating a soft eyeliner effect.
Step 4 – Highlight

I wanted the look to be rich and eye catching, so I added some shimmer to the centre of the lid. I used the copper from the Nude & Noir Bijou Palette as a copper highlight over the burgundy shadow. This product is much happier in warmer climates, so be sure to use your finger to warm up a bit of product. I dabbed a little in the middle of the closed eyelid, as well as in the middle of the lower lashline.
If you prefer, you could also do this with a powder shadow like the Zao Golden Sand, or a cream eyeshadow like Copper. The key is to highlight the middle of the lid with a warm shimmer tone – the overall finish should be like a burnished berry tone, with a highlight in the centre.
To add definition to the look, line the inner rim of your eyes with black pencil, like the Hynt Beauty Forte Liner and then apply a few layers of a black glossy mascara. Here I used the NUI Cosmetics Natural Mascara and applied 3 coats.
Step 5 – Cheeks and Lips

Because the eyes are quite a strong colour, it is better to keep the cheeks neutral. In this case I just worked with light bronzer and powder foundation in a darker colour to balance the cheeks, without drawing too much attention to it.
First I lined the lips with a neutral, try Couleur Caramel – Caramel Pencil and then I completed the look with a swipe of NUI Cosmetics Tahnee lipstick, a peachy nude with a soft matte finish.
Step 6 – Finishing Touch
I finished the look with a dusting of the ZAO Mineral Silk Loose Powder to ensure the makeup was set into place.